Kotani’s Labo
Kotani’s Labo
English version is below the Japanese version.
学会でオーストラリアに行くことになり、ETAの取得が必要になる。
専用のAustralian ETAアプリをダウンロードし、手続を進めるが、顔の撮影で完全にとまる。ネットで検索すると、非常に多くの方々がトラブルに遭っていることがわかる。
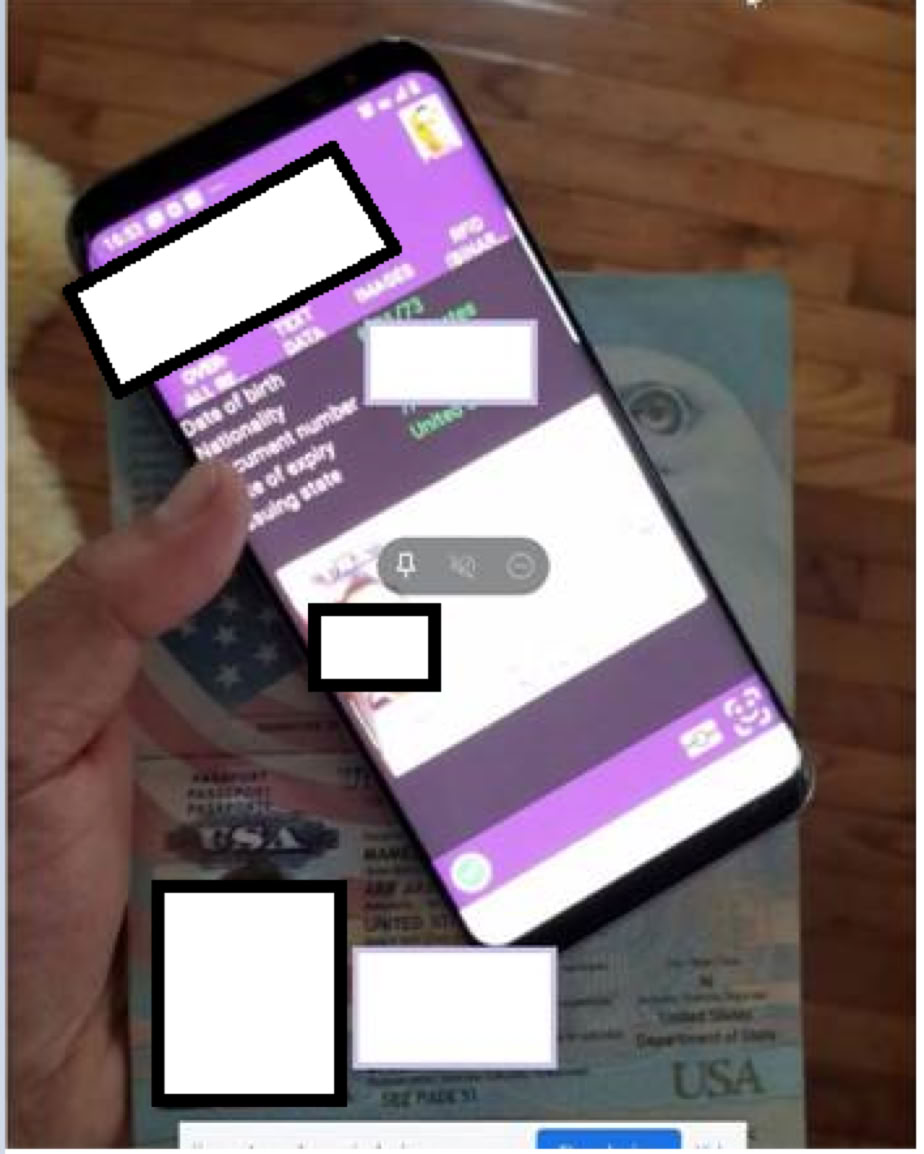
(1)トラブル1:パスポートをスキャンするところでトラブル(パスポートとiPhoneを重ね合わせデータを読み取る)
(2)トラブル2:自分の顔写真をとる(枠内に正しく入ると枠が緑色になり、自動的に写真が撮られる)
私が体験したトラブルは、(2)の顔写真。
(1)については、パスポートの撮影のさいに周囲が明るすぎて、パスポートの一部が反射していると、パスポートと携帯を接触させてデータの読み込みでエラーが出る。パスポートの撮影は、少し暗いところで反射しないようにして撮影すると、スキャンしたデータと写真の内容が一致するのでエラーが出なくなる。パスポートと携帯の接触は、パスポートの裏の下部のところに携帯の上の部分がくるように少し携帯を下にずらして重ねるとうまくいった。
(2)ここでは数日を要する場合があるので、オーストラリア出発の2週間前にはこの作業を開始しておく
わかったこと
・携帯を動かしたときに瞬間的にOK(枠が緑)になり撮影され、それで次に進めたという情報は最新版ではあてはまらない(クオリティーが低いのでやり直しメッセージがでる)。
・髪をあげて枠内ギリギリに顔を近づけての撮影もやってみたが私の場合にはうまくいかなかった。
・別の携帯でやると撮影できた。その際、明るい日光がよくあたる部屋で顔に影ができないようにする。顔に影ができないのは重要なことかもしれない。夜の撮影はうまく行かないと思った方がよいかもしれない。日光が必要。
・目線は枠内の自分の顔を見るのではなく、iPhoneのカメラ(私の場合はインカメラの緑の小さいランプが点灯しているところを見た)を見る。
・目を少し大きめに開けた(目を検知してる?)。
・カメラを思ったよりも近づけて枠一杯にする。Move Camera Upと出たらいい感じ。カメラを上に上げ、顔をCenterにという表示が出るので、目を大きく開け、iPhoneのカメラ(緑の点)を見たら撮影された。
・しかし、クオリティーが低いというメッセージ。ただし、今までと違ったのは、メッセージ下の右側のボタンが「ビデオを見る」ではなく、コンタクトを取るという主旨のボタンに変わっている。そのボタンをおして、とりあえず、メールを送る。そうすると、あなたのデータを処理しているというメールが届く。
・これで心に余裕ができたので、「カメラを思ったよりも近づけて枠一杯にする。Move Camera Upと出たらいい感じ。カメラを上に上げ、顔をCenterにという表示が出るので、目を大きく開け、iPhoneのカメラ(緑の点)を見たら撮影された。」を繰り返す。
・なんどか、目の大きさを調整しながら、撮影・キャンセルを繰り返すうちに、撮影がパスし、次のステップに進むことができた。このあと、宿泊先情報、カード情報が必要になるので、慌てずに正確に対応する。
もう一度やってうまく行く自信はこれっぽっちもないが以下のことに挑戦するはず
・携帯をもう一台確保する(申請は別の人の携帯でOK。入力するメールアドレスを自分のアドレスにする)。
・顔の撮影は、日光があたる(でも影はできない)明るいところで、パスポートの撮影は少し暗いところで。
・顔の撮影で「Move camera up」が出ると良い兆し。そこから目を少し大きく開け、画面ではなく携帯のカメラを見る。
それでもうまく行かない場合には、このアプリを起動したときに、右下の所にHelpやコンタクト先が書いてあるのでそこと連絡をとる。
いずれにせよ、出発直前ではなく、2週間前にやる。
これを読んでる人が出発前日でないことを祈ります。
<2025.6.10>
Contactをとったら返事が来たので掲載します。
Dear Sender,
Thank you for your enquiry.
Please ensure that when scanning the passport that there is no glare on the passport photo as this can affect the comparison with the “selfie” photo. (パスポートを撮るときに反射してないことが重要。セルフィー(自分の顔の撮影)と比較するため。)
If at all possible, please try to ensure that you get a chip read of the passport as this is the best possible passport photo image.
It is important that the passport can be scanned successfully as the face capture photo is compared to the scanned image. (パスポートの顔とスキャンした顔を比較しているらしい。10年前の顔と比べられるのはきつい。今回、目を大きく開けたのは、パスポートの顔の目がいまよりも大きく開いていたから。これがよかったのかも。顔や服をパスポートの顔とあわせるといいのかも。)
When scanning the passports electronic chip, please ensure that the passport is open and your phone is in a position similar to that shown in the photo below. (パスポートを開いてスキャンしろとある:下図参照)
When taking the “selfie” please ensure that you stand in front of a plain background and the lighting is good without any glare or reflections.
(光が十分に当たって反射していないことが重要とのこと)
Some customers report success in taking the “Selfie” in front of their bathroom mirror, as the lighting is usually optimal in this location.
(洗面所の鏡の前に立ってやると光が十分に当たって成功したという報告があるとのこと。それなら、携帯のライトをオンにして顔を照らしながら、フロントカメラから他の人に撮ってもらってもうまくいくかも。もしくは、電気スタンドを顔の前に立てて、しっかりと顔に光をあてるとか。ただし、反射しないように。)
If there is a medical condition that is preventing you from capturing a live photo, please forward a copy of your passport photo page with a brief description (including medical evidence) of why you may be having difficulty capturing your live photo.
(もし医療的な状況が原因で変わったのなら、コンタクトを取れとのこと。とにかく何度かチャレンジして「Contact」のボタンが表示されるとあとは交渉次第でなんとかなるかも。)
If you are unable to provide medical evidence, you may need to consider an alternative visa option. Please visit the “Find a visa” page on the department’s website: https://immi.homeaffairs.gov.au/visas/getting-a-visa/visa-finder.
最後どうしようもなければ、ビザを取れということらしい。
2026.1.3 追記(この記事への反応が多いので…)
もし、問題が解決しない場合には、深呼吸を3回して、もう一度ゆっくりとこの文章の1文・1文をゆっくりを読んで、何か必要なことが欠けていないか冷静に考えてください(最後まで諦めないでください)。
もしこの内容で問題が解決したら「ありがとう、東京科学大!」と三回言ってもらえるとうれしいです(笑)。
あなたが無事にオーストラリアにたどり着けるのを祈っております。
<Australia ETA troubleSSSS in scanning passport and taking selfie>
I had a plan to travel to Australia for a conference and needed to obtain an ETA.
I downloaded the dedicated Australian ETA app and started the application process, but it completely got stuck at the face-capture step. When I searched online, I found that a very large number of people have encountered similar problems.
There seem to be two major types of trouble:
Problem 1: Issues during the passport scan (reading data by placing the iPhone on the passport)
Problem 2: Taking a selfie (when your face is correctly positioned inside the frame, the frame turns green and the photo is taken automatically)
The problem I experienced was (2) the selfie.
(1) Passport scan
For (1), I learned that if the surrounding light is too strong and part of the passport reflects light, an error occurs when the app tries to read the chip by placing the phone on the passport. When I took the passport photo in a slightly darker place to avoid reflections, the scanned data and the photo matched properly and the error disappeared.
As for the phone placement, it worked best when I slid the phone slightly downward so that the top part of the phone overlapped the lower part of the back side of the passport.
(2) Selfie (face capture)
Because this step can take several days in some cases, you should start the process at least two weeks before your departure for Australia.
What I found:
Information suggesting that “if the phone moves slightly and the frame turns green momentarily, it will proceed” does not apply to the latest version (it triggers a “low quality, please retake” message).
I tried pulling my hair back and moving my face as close as possible to the frame, but it didn’t work for me.
It worked when I tried a different phone. At that time, I used a bright room with strong daylight, making sure no shadows fell on my face. This may be crucial. I think nighttime attempts often fail—daylight seems necessary.
Instead of looking at my face on the screen, I looked directly at the iPhone camera (in my case, I looked at the spot where the small green indicator light for the front camera was on).
I opened my eyes slightly wider (perhaps the system is detecting the eyes?).
I brought the camera closer than I expected so that my face filled the frame. If “Move Camera Up” appears, that seems like a good sign. When I raised the camera and saw the instruction to center my face, I opened my eyes wider and looked at the iPhone camera (green dot), and the photo was taken.
I still got a “low quality” message, but one difference from before was that the button at the lower right changed from “watch video” to a button indicating something like “contact us.” I pressed that button and sent an email. Then I received an email saying they were processing my data.
Once I felt less pressured, I repeated the same procedure (“bring the camera closer, fill the frame, wait for ‘Move Camera Up,’ raise the camera, center the face, open eyes wider, look at the camera”), and kept trying.
After repeating capture/cancel several times while adjusting the size of my eyes, the selfie finally passed and I was able to proceed to the next step. After that, you will need accommodation information and card information, so stay calm and enter everything accurately.
I have absolutely no confidence I could succeed again, but if I had to try, I would do the following:
Secure a second phone (it’s fine to apply using someone else’s phone—just enter your own email address).
Take the selfie in a bright place with daylight (but without shadows), and scan the passport in a slightly darker place to avoid reflections.
During the selfie, if “Move camera up” appears, that’s a good sign. From there, open your eyes slightly wider and look at the camera—not the screen.
If it still doesn’t work, when you launch the app there is a Help/contact link at the bottom right, so contact them there.
In any case, do it two weeks before departure, not right before you leave.
I truly hope you are not reading this on the day before your flight.
<June 10, 2025>
I received a reply after contacting them, so I’m including it here.
Dear Sender,
Thank you for your enquiry.
Please ensure that when scanning the passport that there is no glare on the passport photo as this can affect the comparison with the “selfie” photo.
(It is important that there is no reflection when photographing the passport, because it is compared with the selfie.)
If at all possible, please try to ensure that you get a chip read of the passport as this is the best possible passport photo image.
It is important that the passport can be scanned successfully as the face capture photo is compared to the scanned image.
(It seems they compare the passport face photo with the captured selfie. Comparing with a face photo from 10 years ago is tough. I opened my eyes wider because my eyes in the passport photo were more open than they are now. That might have helped. It might also help to match your facial expression or even clothing to the passport photo.)
When scanning the passport’s electronic chip, please ensure that the passport is open and your phone is in a position similar to that shown in the photo below.
(They say to keep the passport open when scanning—see the image below.)
When taking the “selfie” please ensure that you stand in front of a plain background and the lighting is good without any glare or reflections.
(Good lighting without reflections is important.)
Some customers report success in taking the “Selfie” in front of their bathroom mirror, as the lighting is usually optimal in this location.
(Some people succeeded in front of a bathroom mirror because the lighting is often ideal there. In that case, it might also work if someone else takes the photo while you illuminate your face with the phone light, or if you use a desk lamp in front of your face—just be careful about reflections.)
If there is a medical condition that is preventing you from capturing a live photo, please forward a copy of your passport photo page with a brief description (including medical evidence) of why you may be having difficulty capturing your live photo.
(If a medical condition is the cause, you should contact them. In any case, if you try enough times and the “Contact” button appears, it may be negotiable depending on the situation.)
If you are unable to provide medical evidence, you may need to consider an alternative visa option. Please visit the “Find a visa” page on the department’s website:
https://immi.homeaffairs.gov.au/visas/getting-a-visa/visa-finder.
(In the worst case, it seems they are saying you may need to obtain a visa instead.)
May no conference ever be held in Australia again.